|
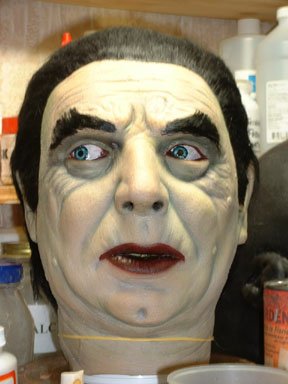 |
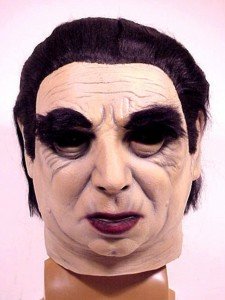
As you
can see in this front shot, I have used dark blue eyes, since Lugosi's eyes were blue.
Some eye glossing and the Count is done!
|
|
|
|
 |
To the
left is the 1998 Don Post re-issue of the Hunchback.
|
|
 |
In this side view shot
you can see that the translucent color has been applied.
|
|
 |
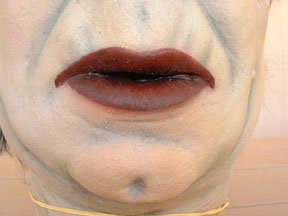
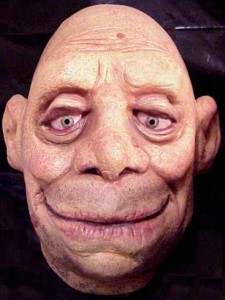
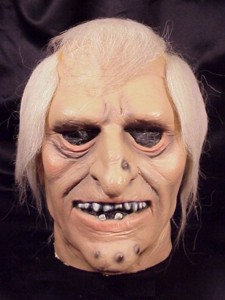
Here is a front view of
the Hunchback, the teeth and lips have been reglossed.
|
|
 |
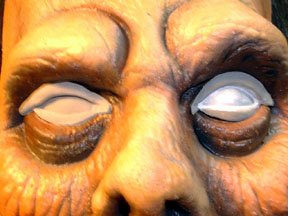
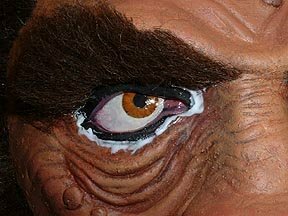
In this close up you can
see that the eyeblank has been installed and blended.
|
|
 |
In this photo you have
the Hunchback complete.
|
|
|
|
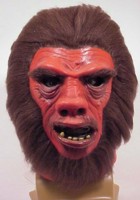 |
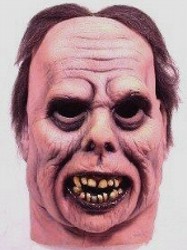
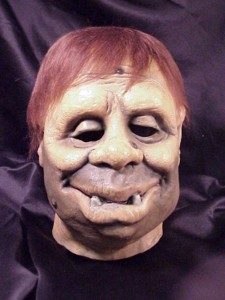
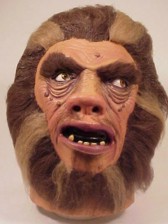
To the left is the 1998
Don Post re-issue of Mr. Hyde. Before any color correction can take
place the existing color and face hair has to be removed.
|
|
 |
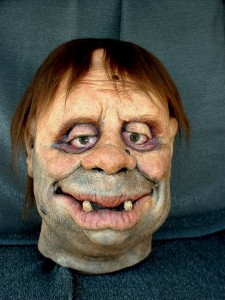
After the new color
scheme has been painted the hair is reapplied on to the face.
|
|
 |
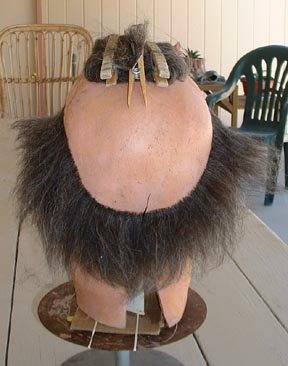
Here you see the mask
being prepared for the modified hairline.
|
|
 |
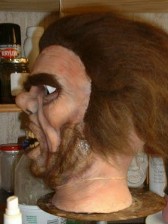
In this profile
shot you see an additional hair color is incorporated into the
perimeter hairline. |
|
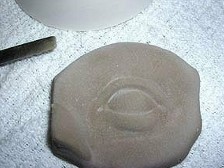
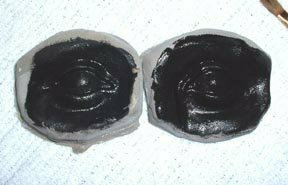
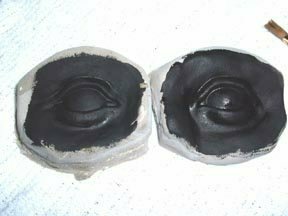
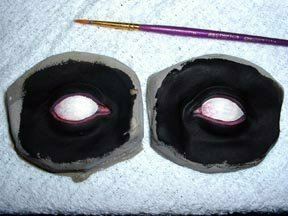
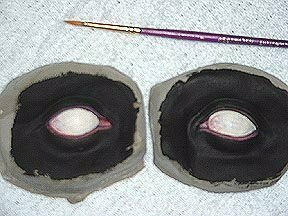
In the next series
of photos you will see a breakdown on how I create
the eye
blanks for Mr. Hyde.
|
|
|
|
 |
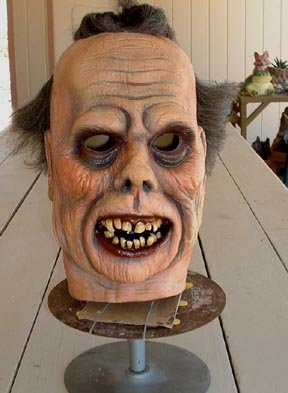
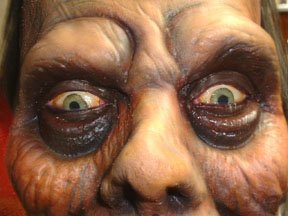
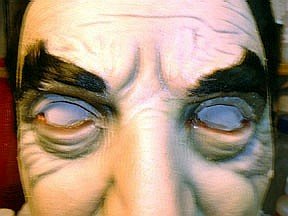
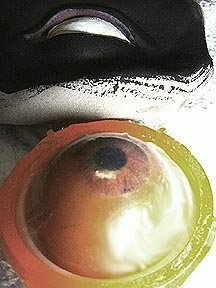
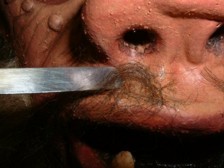
This close-up shows the
eye installed and ready for blending.
|
| 0 |
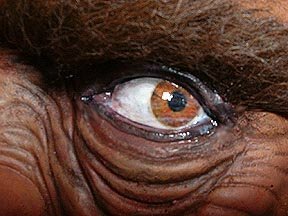 |
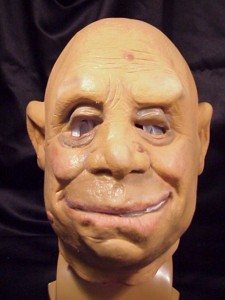
Here is the new eye
after the blending process.
|
|
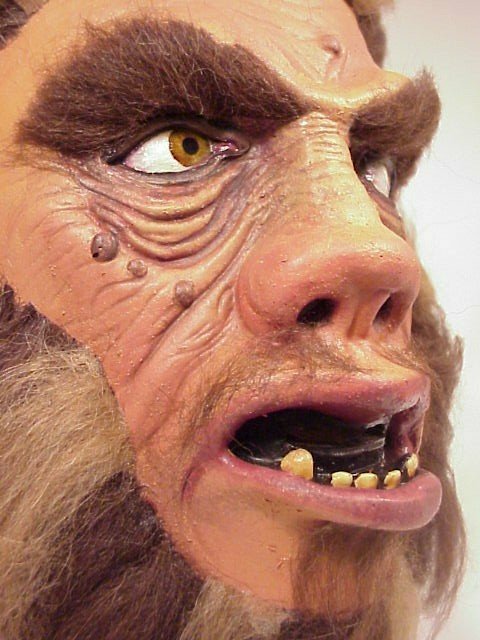 |
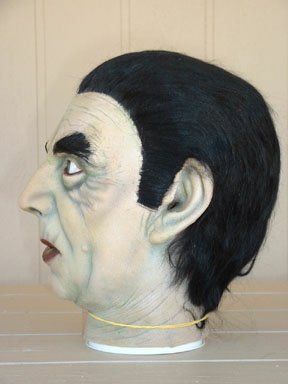
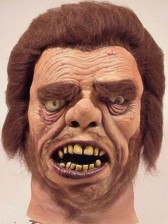
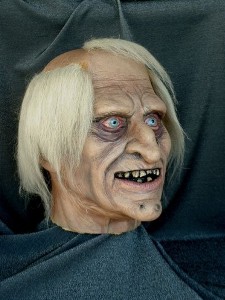
Here is a profile shot
of the completed Mr. Hyde.
|
|
 |
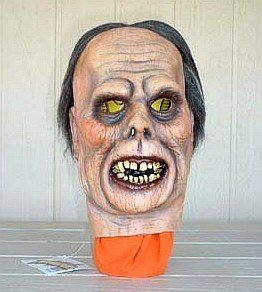
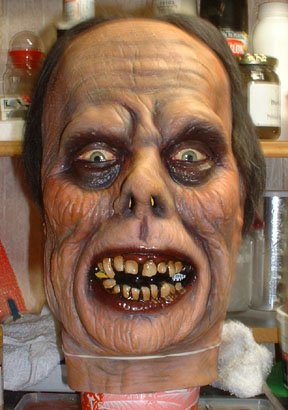
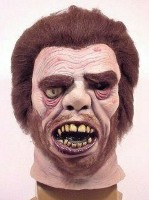
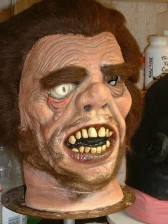
Here is a front view of
the completed Mr. Hyde. |
|
| Before |
After |
 |
 |
|
|
|
|
|
|